
Fixing a Concealed Toilet Cistern Leak: Step-by-Step Guide
Concealed toilet cisterns offer a sleek modern look, but troubleshooting a leak behind the wall can feel daunting. This guide walks you through diagnosing and repairing common concealed cistern leaks safely and effectively.
Understanding How Concealed Cisterns Work
A concealed toilet cistern is built inside a stud wall, furniture unit, or behind a tiled fascia to create a minimalist bathroom design. While the internal mechanics function similarly to a standard exposed toilet cistern, accessing the components requires a slightly different approach. Understanding how water flows into and out of the unit is the first step toward fixing any persistent leak.
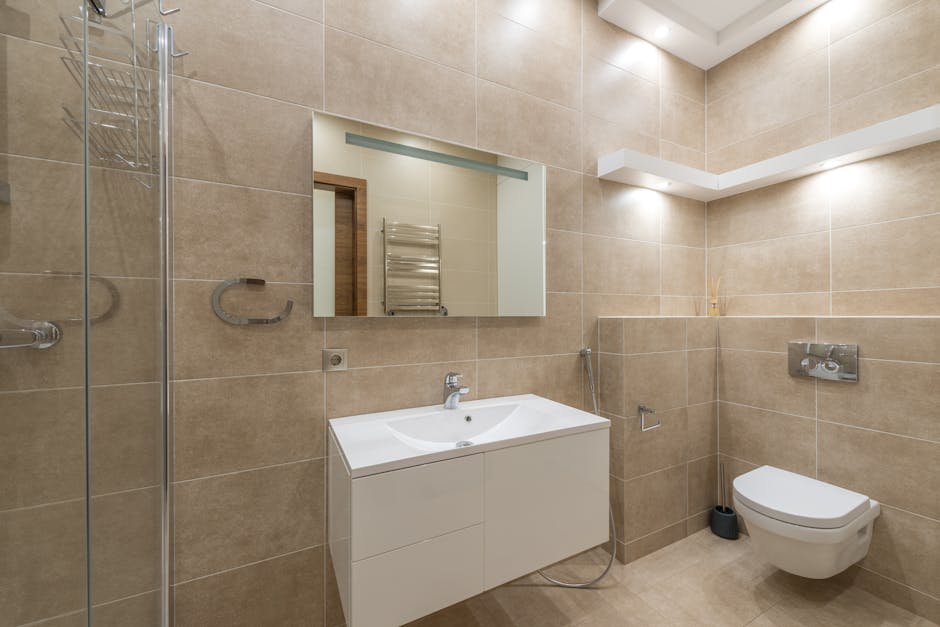
Most concealed units are accessed entirely through the flush plate opening on the front of the wall. Manufacturers design these systems so that internal components, such as the fill valve, flush valve, and pneumatic tubes, can be unclipped and extracted through this panel without removing tiles or breaking drywall. Recognizing this design feature immediately removes much of the stress associated with wall-mounted plumbing repairs.
Identifying the Type and Source of the Leak
Before grabbing your tools, you must pinpoint exactly where the leak is originating. Concealed cistern leaks generally fall into two categories: internal leaks that run continuously down the back of the toilet bowl, and external leaks that drip beneath the wall frame or onto the bathroom floor. An internal leak usually indicates a worn flush valve washer or a faulty fill valve, while an external leak suggests a loose pipe connection or a degraded pan connector seal.
To diagnose an internal leak, place a few drops of food coloring into the cistern water through the access hatch. Wait fifteen minutes without flushing the toilet. If colored water appears in the toilet pan, water is leaking past the flush valve seal. If you observe water pooling on the floor or dripping behind the wall, shut off the water supply immediately to prevent costly structural water damage to your home.
Safely Accessing the Internal Mechanisms
Safety and preparation are essential before starting any plumbing job. Begin by turning off the isolation valve connected to the toilet supply line. This valve is typically located inside the frame behind the flush plate or nearby under a sink. Once the water is isolated, press the flush button to drain the remaining water from the cistern reservoir.
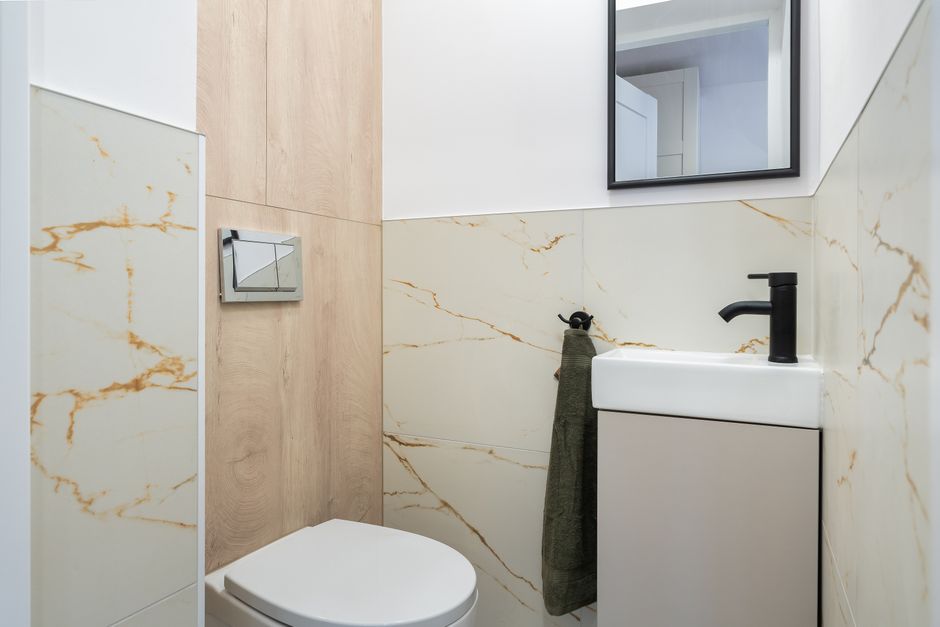
Carefully remove the flush plate by sliding it upward or releasing its bottom retaining clips. Store the button assembly and outer frame safely aside. You will see a protective splash plate or mounting frame behind the outer cover; unclip or unscrew this panel to reveal the fill valve, flush valve mechanism, and flexible water supply hose. Take photos with your phone as you disassemble the parts to serve as a visual reference when reassembling.
Replacing Seals and Servicing the Flush Valve
In the vast majority of cases, a continuous trickle into the pan is caused by limescale buildup or degradation of the flush valve silicone washer. Unclip the flush valve tower from its housing base inside the cistern. You can usually twist the tower counterclockwise or release side tabs to lift the valve assembly straight out through the access hatch.
Inspect the rubber or silicone washer at the bottom of the flush valve. If it appears warped, cracked, or coated in mineral deposits, clean it thoroughly under warm tap water or replace it with an exact manufacturer-equivalent seal. Before reinstalling the valve, wipe down the valve seating surface inside the bottom of the cistern to ensure a smooth, watertight fit.
Testing the Repair and When to Call a Professional
Reinstall the flush valve and reconnect any pneumatic lines or mechanical levers to the frame. Turn the water isolation valve back on slowly to refill the cistern, keeping a close eye on the fill valve shut-off float. Check that the water level stops at the marked fill line and does not overflow into the internal bypass tube. Perform several test flushes while monitoring all accessible pipe joints for drops or moisture.
While replacing internal washers and adjusting float valves are suitable DIY tasks, major structural leaks, soldered pipework, or behind-the-wall supply line failures require expert intervention. Dangerous, highly regulated, or unfamiliar plumbing work should always be handled by qualified, licensed professionals to ensure code compliance and protect your home from severe water damage.
Housemindr
Fixing a concealed toilet cistern leak is straightforward once you know how to access the internal valves through the flush plate. By taking a systematic approach to diagnosis, isolation, and seal replacement, you can resolve most common trickles quickly. Always prioritize safety, work carefully around plastic components, and consult a qualified professional if you encounter complex pipework issues behind the wall.
Keywords
- concealed toilet cistern leak
- how to fix leaking wall toilet
- built in toilet cistern repair
- toilet flushing valve replacement
- concealed cistern maintenance
- flush button repair
- plumbing DIY safety
- toilet washer replacement
- wall mounted toilet leak
- leaking toilet pan connector